Blur as placeholder for imagens in NextJS 14

This post is a step-by-step guide to add blur as a placeholder while tha application is still downloading dynamic images using NextJS 14 and plaiceholder lib.
Step-by-step
If you want to add blur to an image that is saved locally in your project, use the blur property as recommended in the official NextJS documentation.
However, if you want to add blur to an image that is dynamic, some extra steps need to be followed, which is what we will see in this step-by-step.
Source code
The source code used in this guide can be found here.
Create a new NextJS project
To create a new NextJS project, simply run the following command in your terminal:
npx create-next-app@latest <project-name>Installing the plaiceholder lib
After finishing the project creation (using the above command), it's only needed to access the project's root folder and run the following command to install the lib:
npm install plaiceholderEnabling remote images in NextJS config file
To allow remote images in a NextJS application, it is required to add some extra configurations, telling NextJS which domain contains the images that will be used, the protocol (HTTP or HTTPS), and some other configurations.
Thus, open the next.config.mjs file located at the root of the project and change its entire content with the following:
    /** @type  {import('next').NextConfig} */
    const  nextConfig  = {
        images: {
            remotePatterns: [
                {
                    protocol:  "https",
                    // I am using images stored in a GitHub repository, replace the hostname below
                    // according to your project needs.
                    hostname:  "raw.githubusercontent.com",
                    port:  "",
                },
            ],
        },
    };
    export  default  nextConfig;
Plaiceholder
Now the library we installed comes into action, it will provide the image in base64-encoded format, which is used in the blurDataURL field of the Image component of NextJS.
For static images, the blurDataURL property is "automatically populated" by NextJS itself, but for dynamic images, it is a required property.
That said, you need to create a function that returns the image in base64-encoded format. In this guide's example, the function was written in a file called image.ts and this file was created separately within a directory called lib. The function was based on the documentation of the plaiceholder library itself, which can be accessed by clicking here.
    // lib/image.ts
    import { getPlaiceholder } from  "plaiceholder";

    export  async  function  getBase64(imageUrl:  string) {
        try {
            const  buffer  =  await  fetch(imageUrl).then(async (res) =>
                Buffer.from(await  res.arrayBuffer())
            );
            const { base64 } =  await  getPlaiceholder(buffer);
            return  base64;
        } catch (err) {
            err;
        }
    }
Adding blurDataURL to Image component
Now that it is possible to obtain an image in base64 encoded format, update the page.tsx file as follows:
    import { getBase64 } from "@/lib/image";
    import Image from "next/image";

    // The Home component must be asynchronous to use await
    export default async function Home() {
        // Call the created function, passing the image URL as a parameter
        const blur = await getBase64(
            "https://raw.githubusercontent.com/gmcardoso-dev/blog-images/main/2024/05/hoisting.jpg"
        );
        return (
            // The CSS classes in the example are from Tailwind, if you are not using Tailwind in your
            // project, you can ignore them
            <main className="flex min-h-screen flex-col items-center justify-start p-8">
              <h1>Using blur while the image is not ready</h1>
              <div className="flex place-items-center mt-16">
                  <Image
                      className="max-w-screen"
                      src="https://raw.githubusercontent.com/gmcardoso-dev/blog-images/main/2024/05/hoisting.jpg"
                      alt="A random image"
                      width={500}
                      height={500}
                      priority
                      // Add the two properties below
                      placeholder="blur"
                      blurDataURL={blur}
                  />
            </div>
          </main>
      );
  }
Running the project
To see what was done, run the project using the following command in the terminal:
npm run devOpen the browser at the URL that the command above returns, normally a URL is: http://localhost:3000/.
Image being downloaded:

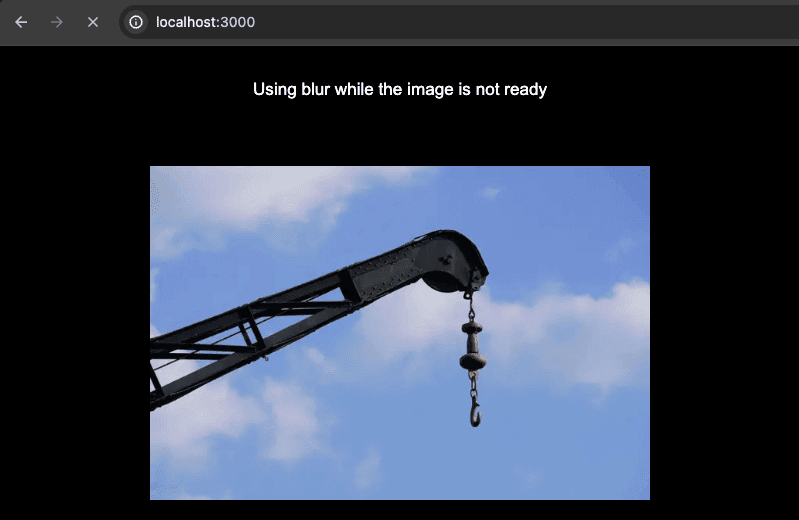
Downloaded image:

Depending on your internet connection, it may be difficult to view the blur, because the image is downloaded very quickly. To do this, there is an option within the Google Chrome browser (probably there is this in others too, I just don't know how to give details on how to use it) that simulates a bad internet connection.
Bonus: Network throttling using Google Chrome Dev Tools
Go to View > Developer > Developer Tools. This will display a new window in the browser tab. Click on the Network tab in this new window and, at the top of this tab, change the value "No throttling" to "Fast 3G" or "Slow 3G" and try to reload the page. This option will simulate a worse internet connection, taking longer to download the image and making it easier to view the placeholder that was added while the image is downloading.